


How to get your icon approved
A person reviews every icon before it goes live. Automated checks run first and catch the most common problems, so you can fix them before a reviewer looks. Here's what they look for.
Got an email about your submission?
An automated check found something in your upload that usually gets an icon turned down. Nothing has been decided yet: your icon is still in the queue, and a person makes the final call. The email links to the section below that covers it. Fixing it and uploading again is the fastest way to get approved.
Use a 1024 × 1024 px canvas
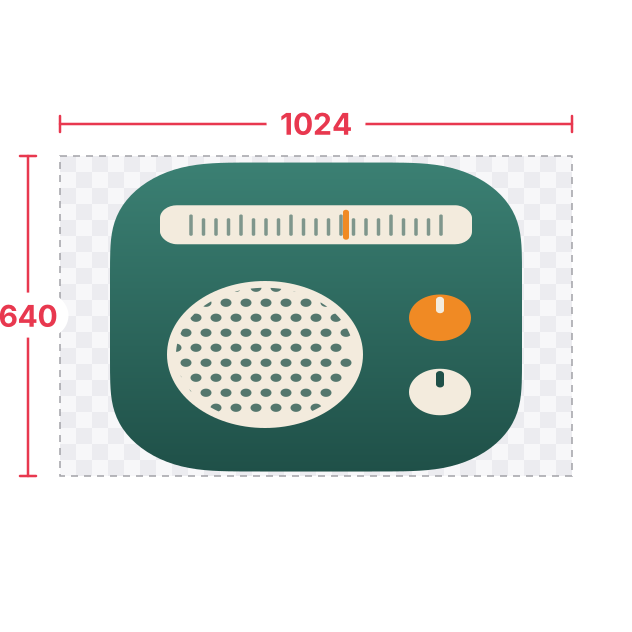
Export your icon as a square PNG, exactly 1024 × 1024 pixels. Smaller images look blurry on Retina displays, and a canvas that isn't square gets squashed when macOS applies the icon.
- Set your export frame or artboard to 1024 × 1024 at 1x in Figma, Sketch, Affinity or Pixelmator.
- Don't upscale a small image: re-export it from the source file at full size.
Keep the corners transparent
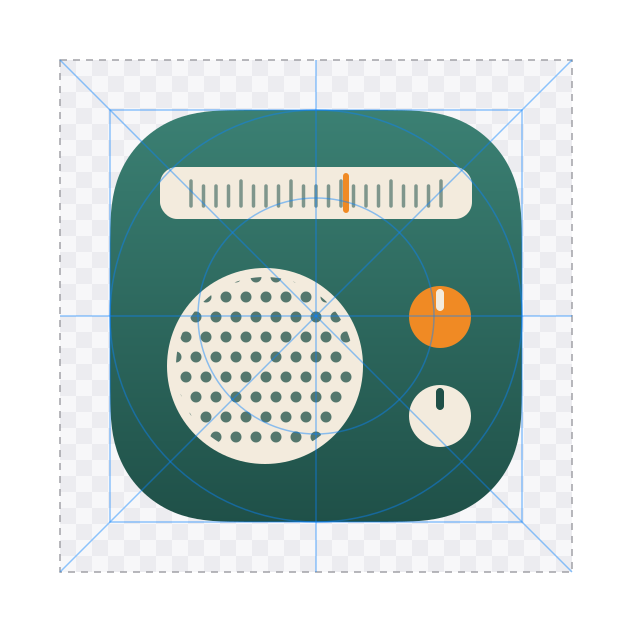
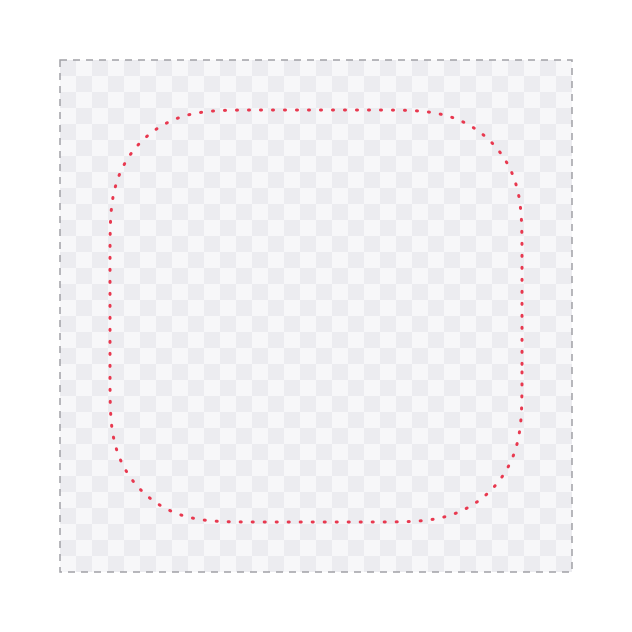
macOS doesn't round your icon for you. The rounded shape has to be in your PNG, with nothing but transparency around it. Artwork that fills the whole square shows up as a hard-edged square in the Dock.
- Hide the background layer or frame fill before exporting.
- Export as PNG: JPEG has no transparency, so the corners come out white or black.
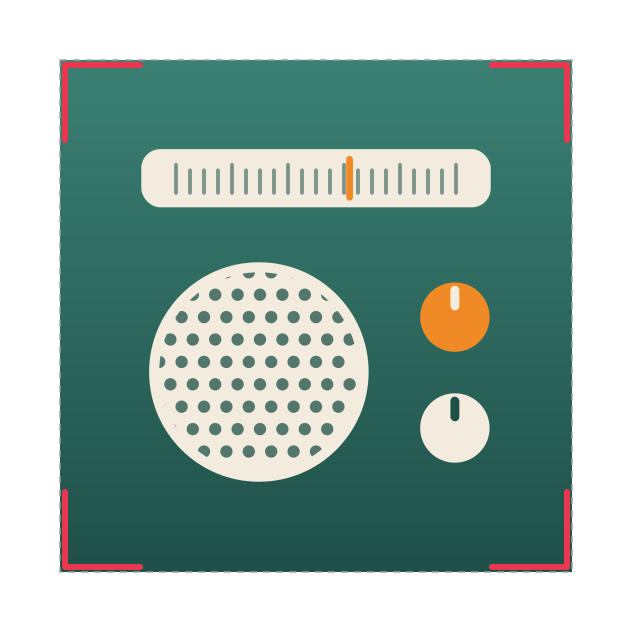
Fit the shape to Apple's grid
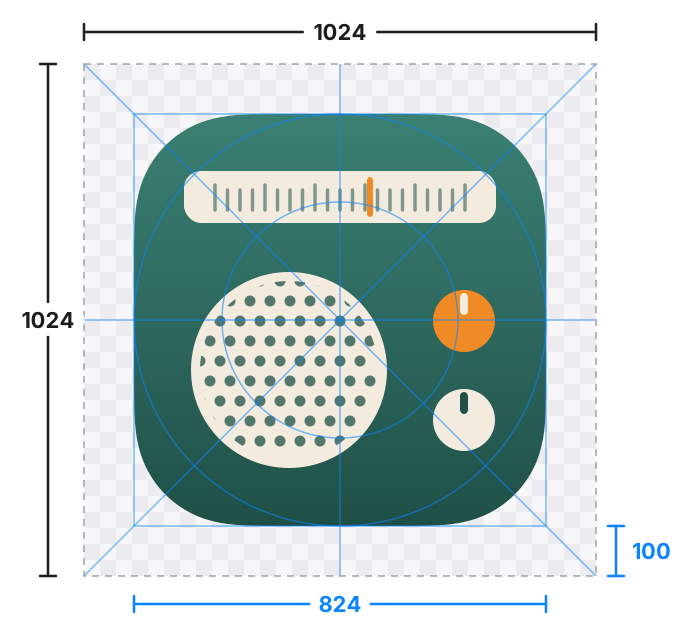
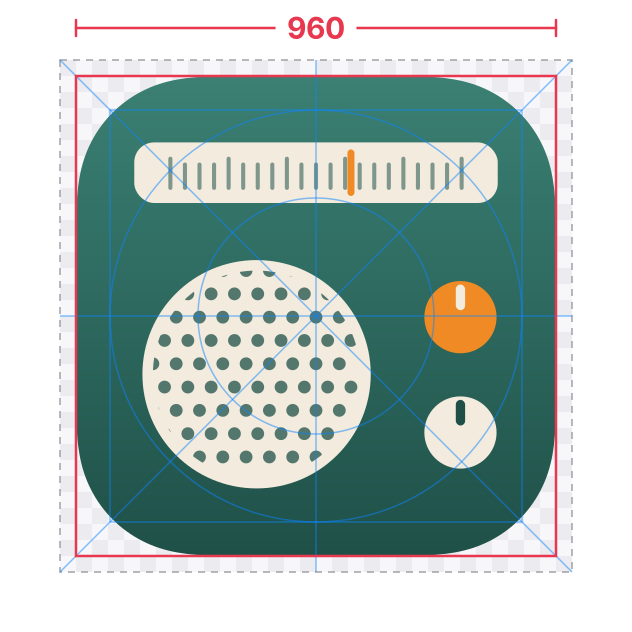
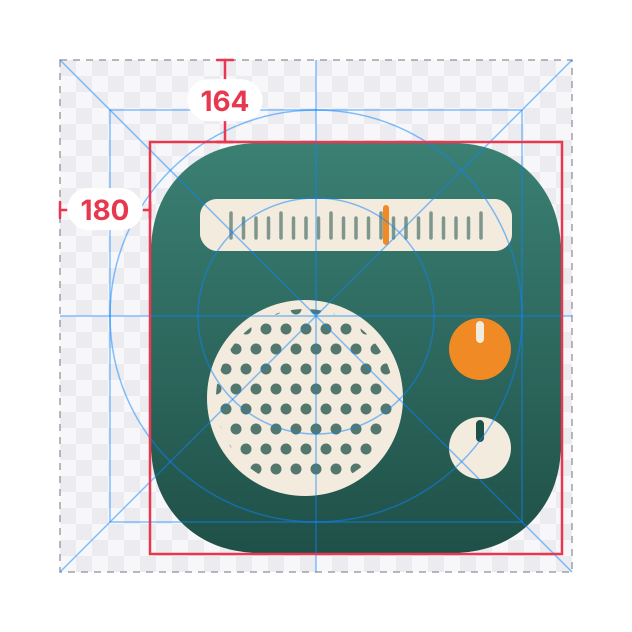
The body of a macOS icon is 824 × 824 px, centred on the canvas with a 100 px transparent margin on every side. The margin leaves room for the shadow and keeps your icon the same size as its neighbours in the Dock.
- Start from one of our templates: the grid is already set up.
- Measure the body, not the shadow. Small details such as a handle or a ribbon may poke out; the main shape shouldn't.
- Too big? Scale the whole shape down from the centre until it measures 824 px across.
Make sure the artwork shows up
An upload that's almost entirely transparent, or a single flat colour, usually means the wrong layer or artboard was exported, or the artwork was hidden.
- Open the PNG in Preview before you upload it.
- Check for hidden layers, masks and export-selection-only settings.
Use the app's real name and an honest credit
The name is how people find your icon, so use the app's name as it appears in the App Store or on its website. You can add a style after it. The credit is for you, the designer: your name, or a link to your portfolio or social profile.
- Offensive, sexual or hateful text in the name or credit is always rejected.
App names
- Spotify
- Visual Studio Code
- Things 3
- Safari Dark
Not app names
- spotify_icon_final_v2
- my cool icon!!!
- IMG_2041
Credits
- Your name
- Your portfolio link
Not credits
- Discount codes
- Unrelated links
Submit your own work
Upload icons you designed. Your own take on an app's icon is welcome (alternative icons are what macOSicons is for), but an altered copy of someone else's icon isn't.
- Submitting an app's own icon, unaltered? Mark it as the official icon when you upload it.
Fixing a flagged submission
- 1
Fix the file
Use the sections above, or the suggestion in your email, to fix what the check found.
- 2
Upload the new version
Submit it again with the same app name.
- 3
Cancel the old upload
Open your profile, go to the Pending tab and cancel the flagged version, so the reviewer only sees the new one.
Think the check got it wrong? Reply to the email. A person reads every reply, and the check never makes the final decision.